Bootstrap4 เป็น CSS Framework จาก Twitter ที่มีคนใช้งานเป็นจำนวนมาก สามารถดูเพิ่มเติมได้จากเว็บไซต์ getbootstrap.com ซึ่งเราสามารถนำมาใช้กับ Web Application NuxtJS ของเราได้ โดยสามารถนำมาใช้งานใน 2 รูปแบบด้วยกันคือ
- เรียกใช้งานผ่าน CDN
- ติดตั้งเป็น npm package มาใน project ของเรา
1 ติดตั้ง Bootstrap4 แบบ CDN ใน Project
เปิดไฟล์ nuxt.config.js จากนั้นเพิ่ม ไฟล์ cdn เข้ามาลักษณะดังนี้
export default {
  mode: 'universal',
  /*
  ** Headers of the page
  */
  head: {
    title: process.env.npm_package_name || '',
    meta: [
      { charset: 'utf-8' },
      { name: 'viewport', content: 'width=device-width, initial-scale=1' },
      { hid: 'description', name: 'description', content: process.env.npm_package_description || '' }
    ],
    link: [
      { rel: 'icon', type: 'image/x-icon', href: '/favicon.ico' },
      {
        rel: 'stylesheet',
        href: 'https://stackpath.bootstrapcdn.com/bootstrap/4.4.1/css/bootstrap.min.css'
      }
    ],
    script: [
      {
        src: 'https://code.jquery.com/jquery-3.4.1.slim.min.js',
        type: 'text/javascript'
      },
      {
        src: 'https://cdn.jsdelivr.net/npm/popper.js@1.16.0/dist/umd/popper.min.js',
        type: 'text/javascript'
      },
      {
        src: 'https://stackpath.bootstrapcdn.com/bootstrap/4.4.1/js/bootstrap.min.js',
        type: 'text/javascript'
      }
    ]
  },
  /*
  ** Customize the progress-bar color
  */
  loading: { color: '#fff' },
  /*
  ** Global CSS
  */
  css: [
  ],
  /*
  ** Plugins to load before mounting the App
  */
  plugins: [
  ],
  /*
  ** Nuxt.js dev-modules
  */
  buildModules: [
  ],
  /*
  ** Nuxt.js modules
  */
  modules: [
    // Doc: https://bootstrap-vue.js.org
    'bootstrap-vue/nuxt',
    // Doc: https://axios.nuxtjs.org/usage
    '@nuxtjs/axios',
  ],
  /*
  ** Axios module configuration
  ** See https://axios.nuxtjs.org/options
  */
  axios: {
  },
  /*
  ** Build configuration
  */
  build: {
    /*
    ** You can extend webpack config here
    */
    extend (config, ctx) {
    }
  }
}
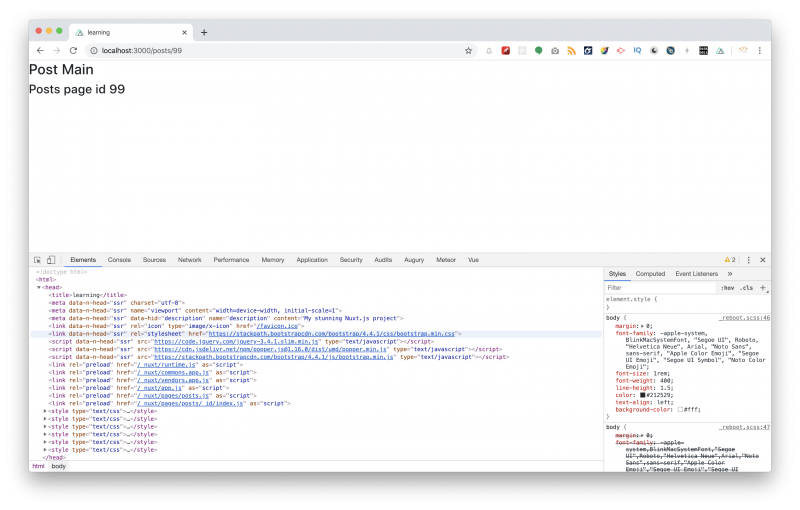
จะเห็นว่า Bootstrap ถูก load เข้ามาใน Web Application ของเราเรียบร้อยแล้ว


ความคิดเห็น